Table of Contents
Info Menu
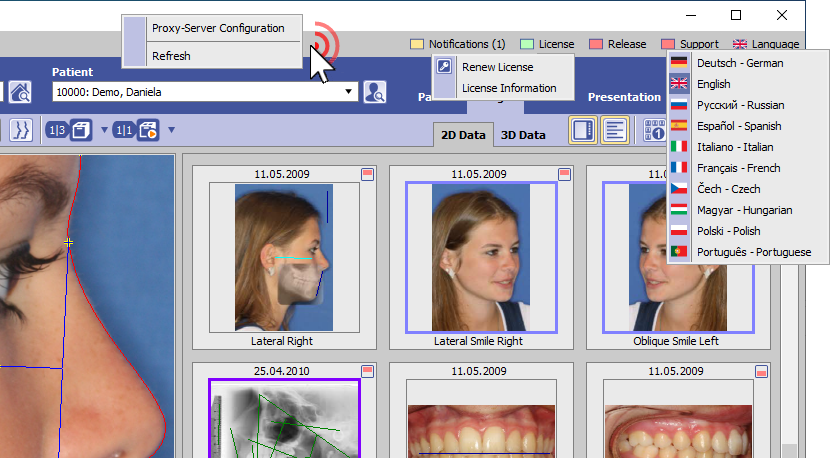
The info menu can be found top right in the main window and provides direct calls for the following info and support options:
- Notifications *
- License information *
- Release information *
- Support tools *
- Client language setting
Entries marked by * require internet access. Right click into the info menu panel background opens the Proxy server settings window.
Button [Notifications]
 | Notifications (Count) |
 | Notifications (Count) - Critical hint |
► The following notifications are displayed:
- new release available
- expiring/expired license
- low memory (separated for client and server)
- Windows™ version outdated (separated for client and server)
If the notification list contains a critical message (e.g., too little memory), the icon turns red and the list of notifications is initially expanded.
Button [License]
 | License active |
 | License will expire in less than 2 weeks |
 | License expired |
► Left click provides context menu to open program OnyxRegister and to display the license information in a browser window. The license status can be displayed with [CTRL]+[SHIFT]+left click on menu item [License information].
Button [Release]
 | Release up-to-date |
 | Release outdated - update required! |
 | No online access to update server |
► On left click, a hint comes up stating that the update has to be performed on the server. Left click + [SHIFT][CTRL][ALT] provides a download option for the update in ZIP format. This download option on the client makes sense for users who don´t have internet access on the server to run a direct online update.
Button [Support]
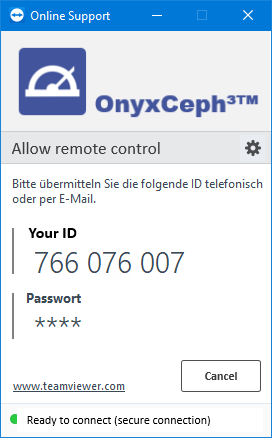
 | OnyxSupport (Teamviewer) can be launched |
 | OnyxSupport is running or cannot be launched since another teamviewer instance is already running |
► Left click opens the OnyxSupport window with the Support ID to be submitted.
The display of personal data can be prevented via the context menu [▼].
In case another teamviewer instance is already running, this has to be closed first.
Button [Language]
| | Language selection German |
| | Language selection English |
| | Language selection Russian |
| | Language selection Spanish |
| | Language selection Italian |
| | Language selection French |
| | Language selection Czech |
| | Language selection Hungarian |
| | Language selection Polish |
| | Language selection Portugal |
► Left click opens the selection list with all available client languages.
To apply the selected client language, OnyxCeph has to be re-opened on the workstation.
Note: To change the language for cross-system terms and names (e.g. analysis names) the system language needs to be changed. This can only be done by program OnyxDBServer on the server.


